Tuesday, 6 October 2015

Falling Leaf DIY


Welcome friends , as I mentioned in my last post on dollar store projects I have been
painting on canvas.

I know many of you will shy away and say I can't paint.....well I'm not master at it either.
I have fun and that's what it is all about.

You don't have to spend a fortune on paints and brushes.
Or even canvas.
This was all purchased at the $$$ store.

Brushes   $1.00 for a variety pack

sponge brushes $1.00

Craft acrylic paints $1.00 each

Canvas 8 x 10 $1.25

I keep plastic yogurt containers for water to clean my brushes

a roll of paper towel


"these items do not contain affiliated links and I am not compensated"


I chose a bright turquoise background and using a wide brush or even a  sponge brush
applied it to the full canvas.

I gave it the night to dry and then the next day I traced a maple leaf onto the painted canvas.
Not to hard but lightly so your pencil marks don't show through the paint.
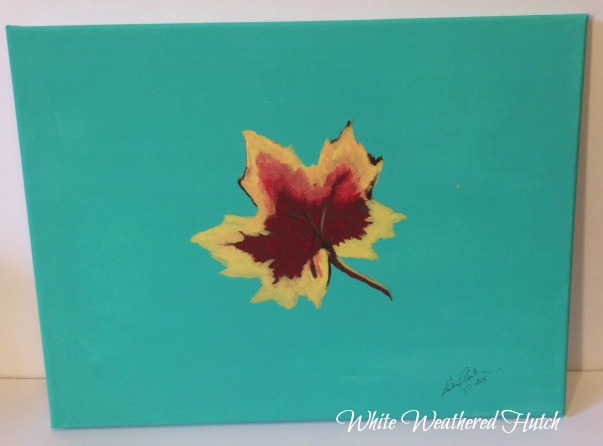


I started with the red and filled in the leaf leaving an edge for my yellow. Cleaning  my brush in the water I then applied the yellow around the edge taping the edge of the round brush to give a feathered appearance.

I find acrylics very forgiving. If you add too much paint dab it off with a paper towel.
While that area is drying I then painted the stem in Burnt Umber  and veins of the leaf.
Once the stem was dry I added a shadow with the yellow paint.

Make sure you clean your brushes in between colours.

I also  added the burnt umber to the tips of the leaf as well.

If one colour blends in with the other that's ok....Have fun with it.....

There are so many colourful fall leaves in oranges and greens to bright reds and yellows.

You choose what colour background you want and then just have some fun


                 I hope you will give this a try! Thanks for following along!


Friday, 2 October 2015

Fall Home Tour


Fall is my favourite time of the year, the leaves are changing colour, the temperatures are dropping, and it's the perfect time to decorate for fall!
Our home is situated in the country with fields of corn ready to harvest.

So do come in..........


Let's start with the foyer........ entrance table


.


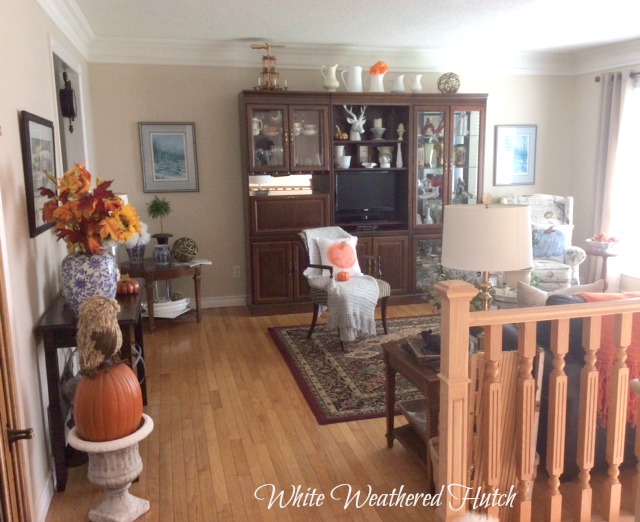
Next comes the living room....as you can see I'm inspired by the colours of fall!


I like to add some whimsy to this room...not too much...


The breakfast room  is no exception.....lots of colour


Through the breakfast room you'll see more colour in
the sunroom...


Fresh picked apples from our orchard....


Keeping it cozy with many quilts to cover up with on those chilly nights...


Thanks for stopping by and enjoying this Fall Home Tour with me!


You can follow me on Instagram and see the latest on White Weathered Hutch!


Wednesday, 30 September 2015

Dollar Store DIY


Do you ever go into the Dollar Store with a purchase in mind,,,,,

We happened in there other day by chance and at the front of the store they had started to bring in their fall decor....

Out jumped this tablecloth for $3.00 and I knew right away what I was going to create....

                                      Yes I'm in the " Let's get Creative"  mode!


This tablecloth made of polyester would be perfect for placemats.

I cut out eight 17 1/2" x 13 1/2"
placed right sides together
stitched a 1/4 " seam around and left an opening of 6"
turned right side out ....and put aside....

Liked this look but I went one step further....

Brought out my burlap fabric.....


Went about cutting 4 ...17 1/2" x 13 1/2"

Placed one $store piece and burlap right sides together and stitched a 1/4"
seam leaving enough of an opening to turn right side out.
Then top stitched 1/4" around the top including the opening that I had left for turning.

Continued sewing all 4 placemats then gave them a good pressing.

Not quite done I went one step further with it being fall and all......

I outlined a maple leaf and then with my stencils added the numbers 1 - 4 on each
placemat.

Giving me two different looks !


Which do you prefer........

Lots of colour or more rustic........

Do you want to see what I made with the first sample placemat......

                                                           I made a pillow cover!

So easy to make .

If you are a non sewer just follow the same directions and use fabric glue or fusible bonding web
Just follow the instructions on the package.


Still have quite a bit of fabric leftover ...enough to make a table runner....maybe add some
burlap to the ends.......

I'm not quite finished working on my next $$$$Store project so you all come back!
                                   

                                         Hope you will give this a try and save$$$.

                                                  Thanks for following along,
                                                       Love hearing from you!

                                                  Do tell and send a picture of your $$store
                                                                        DIY!
                                             
You will see this post at these Linky Parties
                                                         Savvy Southern Style
                                                    The Handmade Hangout